Production of frames of domed houses (structures)
Hello, dear friends. With this video we want to demonstrate the assembly of our frame structures on a wooden castle. The lock was developed by our company, and now we will show you the assembly of the components and the frame itself using parts taken from production.
The parts of our designs are assembled into a groove using a wooden lock. The first rack is installed, the next part is installed into it. All this is crimped with mounting pads on both sides. The mounting plate has all the technological holes for assembly, and there is also a groove cut in it for mounting the spacer.
To assemble the first unit of the structure, you will need a screwdriver, an attachment for a nail, pads and a spacer. All technological holes for assembly are already drilled. All you have to do is just line up the holes for the trim with the spacer. The spacer is installed in the groove of the lining, the holes are aligned, and the pin is screwed in.
The pin is twisted perpendicular to the spacer, in no case at an angle, so as not to split the part. Screw on the second cover. We combine the holes and screw the nail into these holes. This unit is ready for further assembly of the first tier of the frame. The remaining nodes were prepared by us in advance. After assembling the spacer-plate assembly, you will need to assemble this assembly with the posts. It is assembled using bolts, washers and nuts, which are included in the kit. For assembly you will need a screwdriver with a 17mm head and one assistant.
For further installation you will need to install the two lower bolts into the already secured cover plate. After which all this is attached to the rack. The stand is pre-fixed to the floor bolts. The bolts are matched with the holes, and another cover is installed. For further assembly, these bolts just need to be pulled by hand. The center bolt and the next two bolts are installed during the assembly process.
For further assembly, you will need to perform this operation before the circle closes. This will be demonstrated, but on prepared nodes. After assembling the first tier, you can assemble the frame with one person. The assistant prepares the units for further assembly, and you install the racks of the second tier. We take parts C2, that is, the stand. We install it in the groove between the fixed linings. The part is installed very tightly, and for further assembly you do not need to hold it with your hands, that is, your hands are free. All you have to do is install the centering bolt that connects the first post and the second post. We twist it. Install the remaining bolts. Install washers and nuts. All. The entire assembly can be pulled through with wrenches.
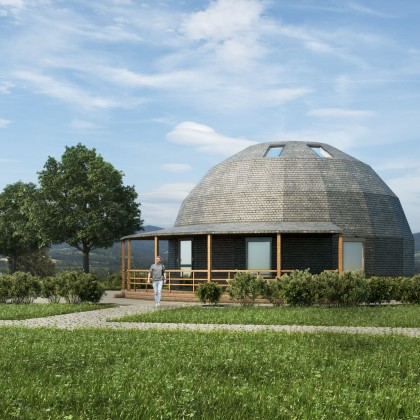
This design was assembled by me and an assistant within 3.5-4 hours, since there were short breaks. The structure is part of an arched-dome structure, which in the future will be a greenhouse. It will look something like this. Its dimensions will be 7.5 x 11 meters. Height 2.5 meters. This order was carried out individually. Also, our company mass-produces dome houses, frame houses and yurt frames.
We wish everyone good luck!
Рекомендуемые товары
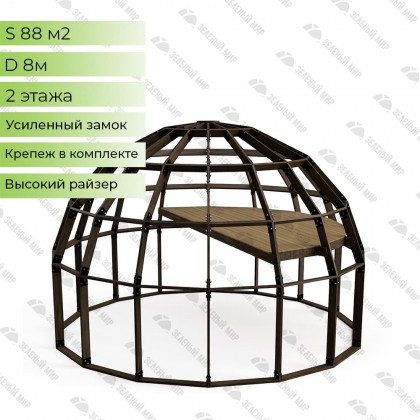
Dome frame - 88 sq.m. - D8H (HIGH)
A frame kit of a high domed house of 88 square meters with a second floor for self-assembly accordin..
Dome frame - 141 sq.m. - D10H (HIGH)
A frame kit of a 141-square-meter high domed house with a second floor for self-assembly according t..
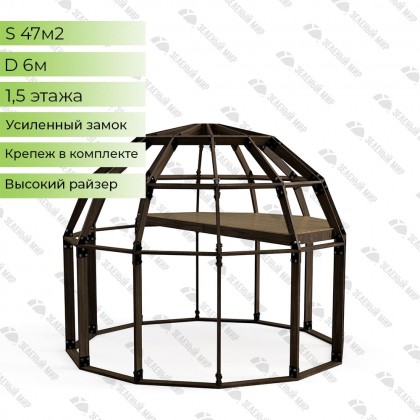
Dome frame - 47 sq.m. - D6H (HIGH)
A frame kit of a 47-square-meter high domed house with a second floor for self-assembly according to..


